
A bimini top is a great addition to most boats. It gives you the option of staying on the lake and enjoying your boat, while having the ability to get out of the beating sun.
A bimini top is purchased based on size. So whether you have a pontoon boat or a runabout, you’re choosing your top based on sizing and features. However, some pontoon boats run a double bimini top, essentially covering the bulk of the deck area. In most cases the cost of a bimini top is low enough to make this a must have option.
Choosing the right bimini top for your boat is pretty easy. I’ll show you how to measure, what features are best, and how to install your new top in a simple and easy to understand way.
Selecting The Right Size Bimini Top
You’ll first need to know what size Bimini top you need. Here’s what you need to know in order to place your bimini top order:
- How much head clearance do you want. Typically, there are Low Profile (36″ high), Universal Height (46″ high), and Standing Height (54″) head clearance profiles. Stand in your boat and measure from the approximate mounting point area for your bimini top, up to where you would like your bimini height to be. Write down your height dimension.
- Locate both mounting bracket locations. Measure the distance between them and write down the “width” dimension. Something to consider when choosing a mounting location, is where it will land when collapsed and laid down. You want it to lay in a convenient location.From where you want it to lay, measure forward by your “height” dimension, and that will be your mounting location. (I would strongly suggest “bimini top support poles” as opposed to straps on the back of your bimini top. This way your bimini top is always supported up and out of the way. They also look cool in the up, closed position.)
- You’ll also need to know how long you want your top to be. Generally, the typical 3 bow is in the 6′ range and the typical 4 bow will be in the 8′ to 10′ range.
An AMAZINGLY Low Price For A Great Bimini Top!
 You can actually buy some very inexpensive bimini tops starting just over $100 and running up to near the $2,000 mark for a really expensive one. They actually start rather pricey when you get into needing a double bimini top for a pontoon boat. That can set you back $1,600 to $2,000.
My recommended bimini top is only $155! (depending on when you read this) It’s a real deal considering the quality and features.
When choosing what level of quality you want for your money, just know that there are many ways of cutting cost by giving up on quality materials and construction.
- Tubing material could range from a thin wall steel tubing that rusts easily, to a high grade of stainless steel or aluminum tubing that will pretty much last forever.
- Hardware and mounting brackets can be a cheap grade of plastic, up to a high grade of stainless steel that will pretty much last forever.
- Fabric can be low denier and surface dyed with no UV protection, up to very high quality 9.25 oz, UV protected, 100% Solution Dyed Acrylic material.
- Construction of the top fabric can be single stitched with solid bow loops and no UV protection thread, up to a 30 pound test, UV protected thread, double stitched, and zippered bow loops for easy removal.
Installing Your New Bimini Top
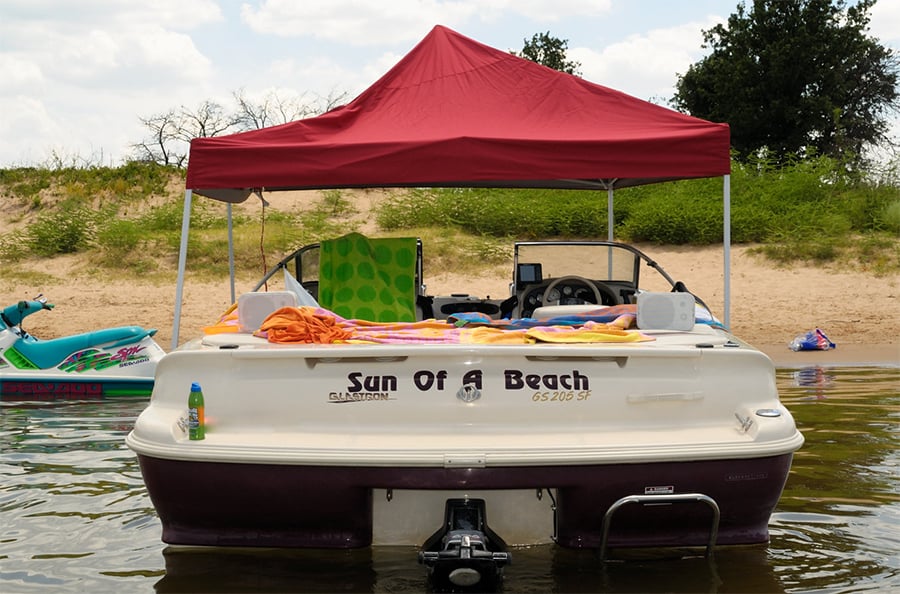
Installing your bimini top isn’t very difficult, but I wanted to provide the steps for you, along with some things to watch out for. I don’t want to see your boat out on the water with a bimini top that looks like this one!
Installation is very simple with two people. Your new bimini top kit will come with everything you need, with the exception of a few tools. Some tools you may need are:
- Tape measure
- Drill
- Screwdriver
- Masking tape
- Pencil
- Silicone sealer
“””NOTE””” Before you install your new bimini top, you need to fully consider if you want the ability to hold your bimini up and out of your way when it’s not in use. I feel this is the best choice, because when it’s laid down, it’s usually in the way. Many people will store their bimini in the garage and then not have it along when the day turns out to be a real sun scorcher.
Before you drill into your boat and install the rear strap mounts that you may not need, it would be better to have made a decision on using “bimini top support poles” instead. So, before you get to steps 15 thru 18 of the installation instructions, know that you are mounting the support pole mounts instead of the strap mounts on the rear. FYI: My recommended bimini top comes with support poles!
Install as follows:
- Assemble the bimini top by inserting the tubes into the fabric and connecting the rest of the down tubes.
- Install the bimini storage bag to keep it collapsed.
- Tape off the area where the mounts will be installed with masking tape.
- Attach your main mounting brackets to the bimini top.
- Lay the assembly onto your boat in the position you want it when it’s in the down position.
- Holding the top in place firmly, trace the outside of the mounting brackets onto the masking tape you placed.
- Move your bimini aside and remove the mounting brackets from the bimini top.
- Place the mounting brackets where you marked them on the boat and mark the hole positions.
- Drill a pilot hole for the screws and countersink each hole so that it’s a little bigger than the diameter of the the screw thread.
- Remove all your tape.
- Apply silicone sealer to each hole. This will provide a watertight installation.
- Using the provided screws, carefully install the mounting brackets onto your boat.
- Attach your bimini top to the mounts.
- Open up the bimini top into full open and upright operating position.
- While top is held in position, the other person can determine the best position for the retaining straps to mount to the boat (if using rear support poles, install them before installing the front strap mounts).
- Tape each mount area and mark the hole positions.
- Pilot drill, countersink, silicone, and install mount each strap-mount.
- Hook each strap to their mount and adjust straps to hold the bimini top firmly in the correct operating position.
Note whether your boat cover is going to have a cut point when/if stretched over the bracket. You could make foam protectors for them if it’s a problem. You could also take your cover to a canvas shop to be altered to fit with the bimini top being mounted with support poles and kept in position.
Bimini Top Fabric
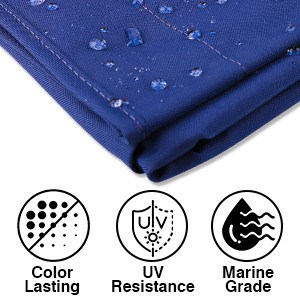 My choice has Marine grade 600D polyester canvas with double PU Coating. So if the top is left in the open position all year round, it’s not likely going to fade. In reality, this never happens. Your bimini top is usually closed with the bimini boot covering it.
So since your bimini top is opened only when the boat is in use and when you want sun protection. This means that this bimini top is going to last you a very long time and hold it’s color.
From a duability standpoint, you want a heavy duty fabric that’s going to hold up to the beating of mother nature as well as the impact of the wind from being under way. Remember a decent trailering boat cover is 600 to 800 denier. So that is what you should want in a bimini top fabric. By the way, the boat cover I recommend actually has 1200 denier fabric, which is incredible!
Stay clear of a bimini top that’s sewn with a single line of stitching. You want and need double row stitching. Just because the fabric can handle a beating, doesn’t mean the threads can. My recommended bimini top has double overlapped stitching.
Poles And Hardware
A heavy wall stainless steel pole is probably best, but is it needed? In my opinion, aluminum is just as good when the bimini is treated correctly.
A quality stainless steel isn’t going to rust, but neither will aluminum. As far as strength, the pressures put on bimini top poles are in line with the pole structure itself. There is no side loading under proper use, so the aluminum pole is going to hold up just like the stainless steel will. Aluminum is superior over stainless steel because of pricing.
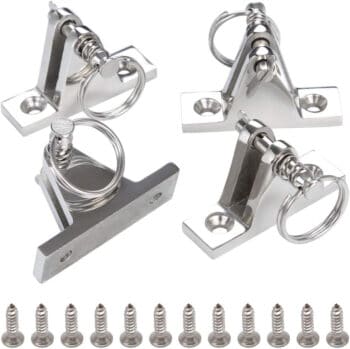 The one thing I would personally upgrade is the mounting brackets. This is very inexpensive to upgrade to 4 stainless mounts for pocket money on Amazon. Aluminum mounts are totally fine as well.
I mention this because my recommended bimini top does come with plastic mounting brackets. The plastic mounting brackets will absolutely last for the life of the bimini top if treated right. My reasoning for upgrading to stainless steel or aluminum mounting brackets is based on human error.
Sometimes your guests may hit or lean on the bimini poles, and the plastic mounting brackets can get damaged. Otherwise the plastic brackets are completely fine.
No matter what you do as far as mounting brackets, you just can’t beat my recommended bimini top for being the absolute best deal considering all the great features and price.